Adobe Express
For this tutorial, we will use Adobe Express, a free online photo editing tool. But if you have Photoshop or any other basic photo editing software, you can use that in the same ways. I'm also using a photo that I have downloaded from a stock photography site as an example.
Resizing
The content area of a page on UMassP.edu is generally no more than 1300 pixels wide. Photos that I take with my iPhone are roughly 3000 pixels by 4000 pixels; in a word, massive. In order to make a photo fit well in the available space, especially if also adding text to the page, it has to be resized to more appropriate dimensions.
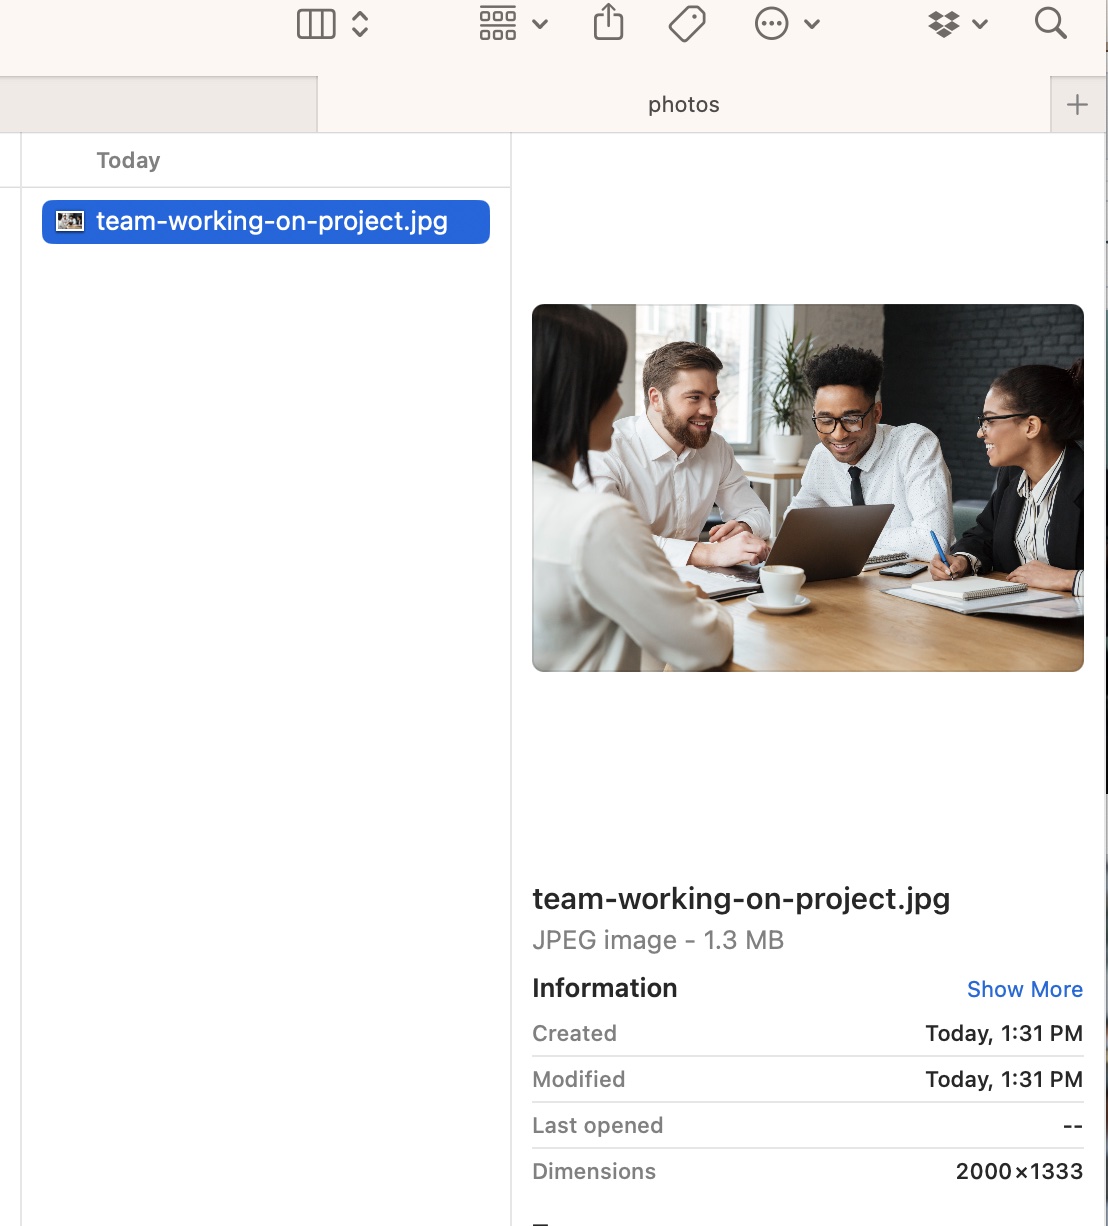
This photo was downloaded from a stock photography site. Note the dimensions are 2000px by 1333px.
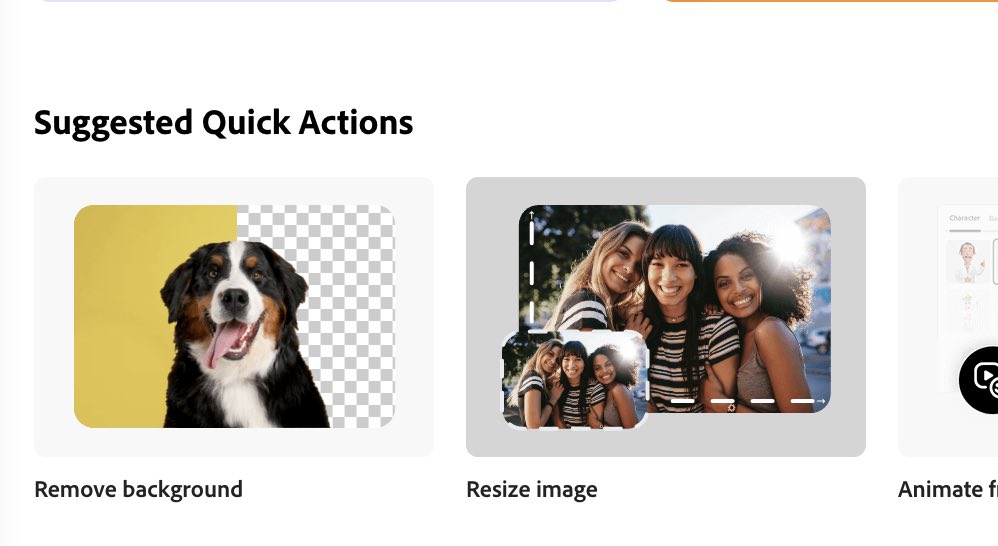
In the Adobe Express tool, select "Resize Image" to open a very simple editor dialog box.
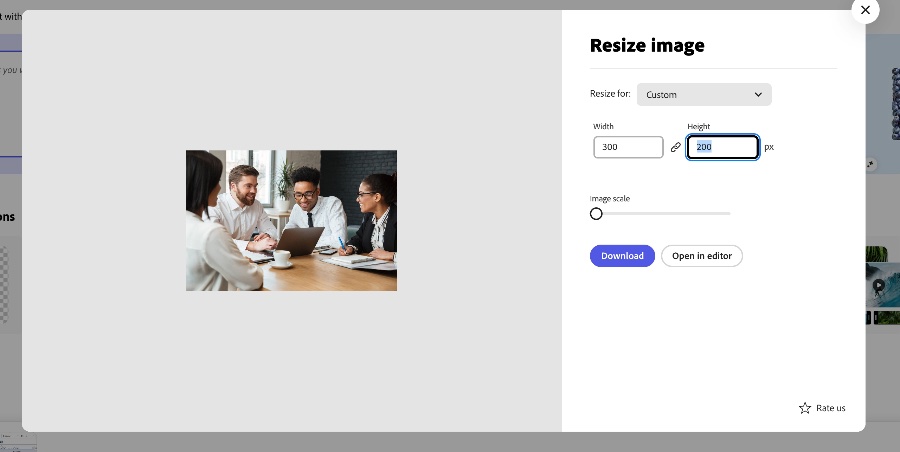
Drag your original image file into the dialog. In the right side of the dialog, there are options for how to resize the image. The "resize for" selector gives some preset sizes for a variety of social media tools. Go past these and select custom. The width and height boxes will be enabled and they are set automatically to lock the aspect ratio of the original photo. So if you enter a width and tab to the height field, you'll note that the height automatically adjusts based on what you entered in the width field. It is possible to turn off the aspect ratio lock, but that would skew the way the image looks. If you want to change the shape of the photo, you are better off starting by cropping the image.
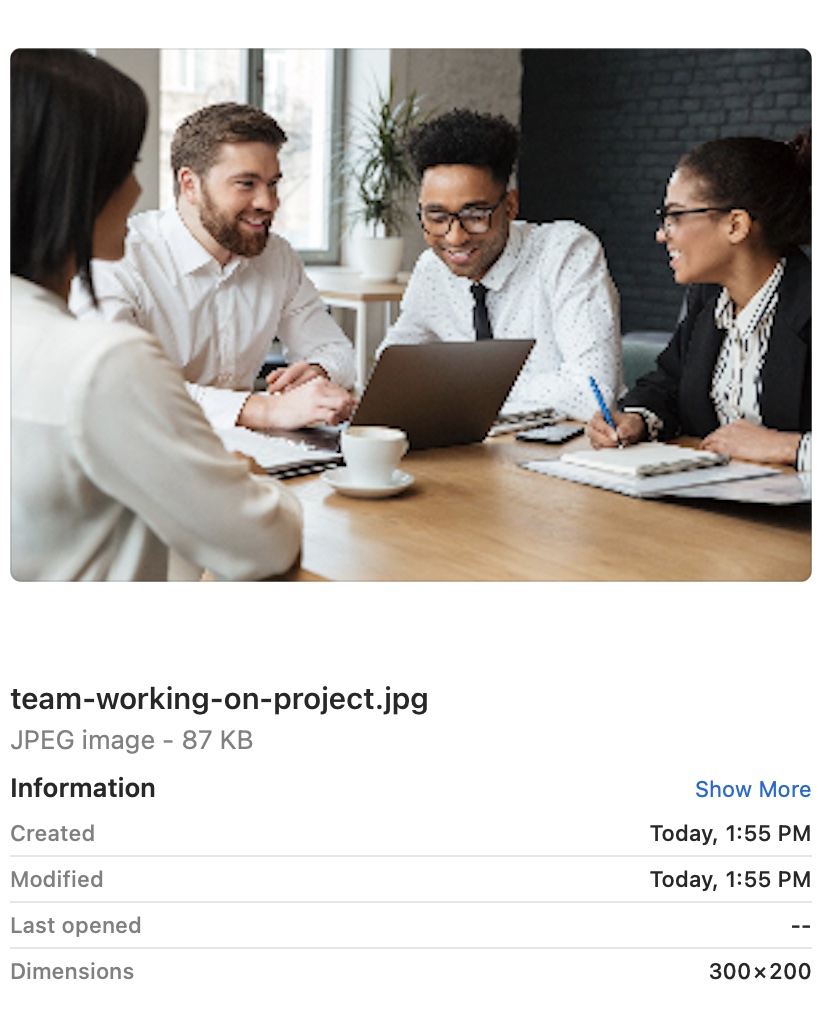
After the image is the way you want it, click the download button. The image will be saved into your downloads folder. There you will notice that the dimensions now reflect the changes you made.